These are instructions on how to install the Nokia Phone F USB Driver on Windows Computer (you can use this method on a computer running on Windows 7, 8, 8.1, 10 and Windows 11).
Steps to Install Nokia Phone F USB Driver on Windows Computer
- Download and extract the Nokia Phone F USB Driver package on the computer. If in case you have already downloaded and extracted the driver package, then SKIP this step.
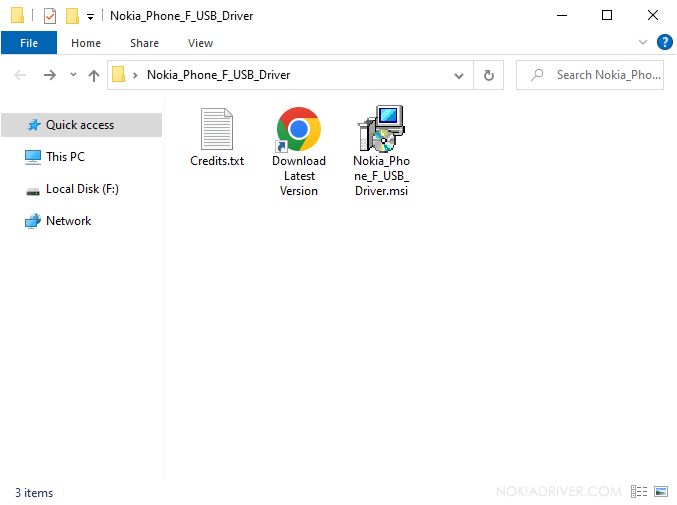
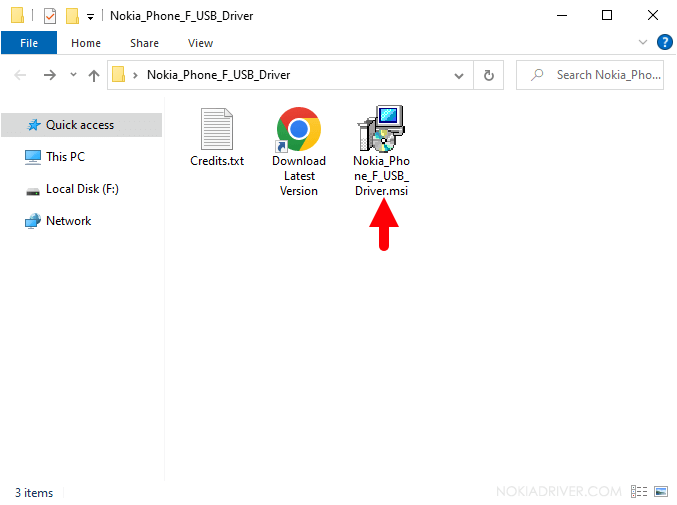
- Once the driver package is extracted, you will get the Nokia_Phone_F_USB_Driver.msi file:
- Open Nokia_Phone_F_USB_Driver.msi (double-click to open) to launch the Setup Window:
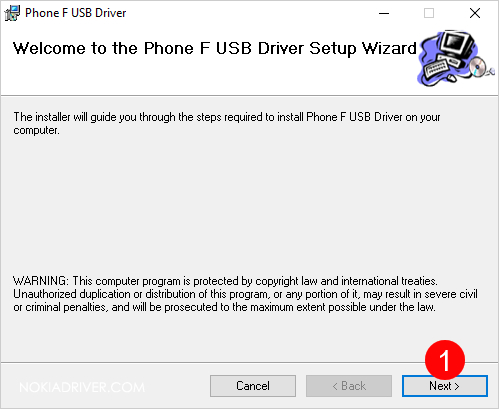
- Once the Setup Window is launched, Click on the Next button:
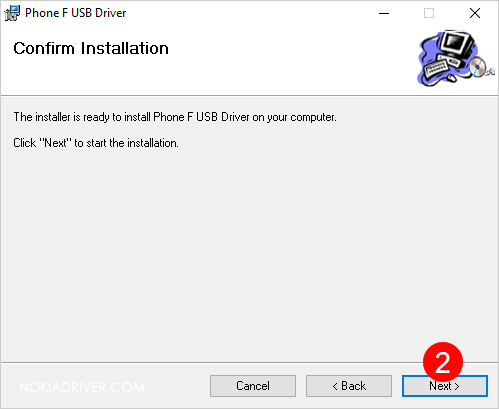
- Again, Click on the Next button to confirm the installation:
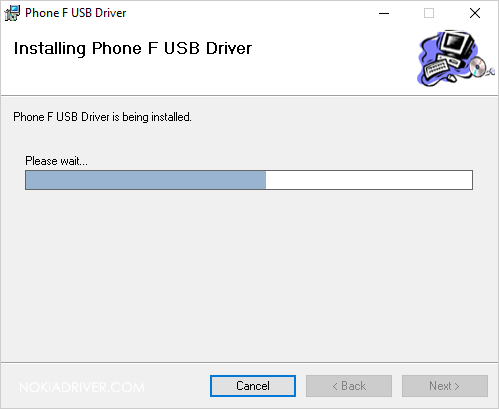
- Nokia Phone F Driver will be installed on the computer (this may take a few seconds to complete):
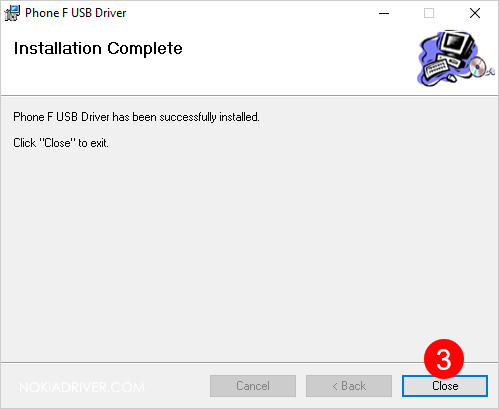
- Once the installation is completed, click on the Close button to Exit the Setup Window:
- Restart the Computer.


Once the computer restarts, you can easily connect your Nokia device to the computer without facing any USB Driver connectivity issues.
Readme Once:
[*] Download Latest Nokia Phone F Driver: If you are looking for the latest Nokia Phone F Driver, then head over to our Download page.
[*] Nokia Driver for Specific Model: If you are looking for the Nokia Driver for any Specific model, then head over to our Devices page.
[*] Nokia Firmware: If you are looking for the official Nokia Stock Firmware, then head over to the Nokia Firmware page.
[*] Remove or Uninstall: If you want to remove or uninstall Nokia Phone F Driver from the computer, then head over to How-to Uninstall Nokia Phone F Driver page.